I have been contacted by a couple of people who have made their own version of Retroball which is great to see!
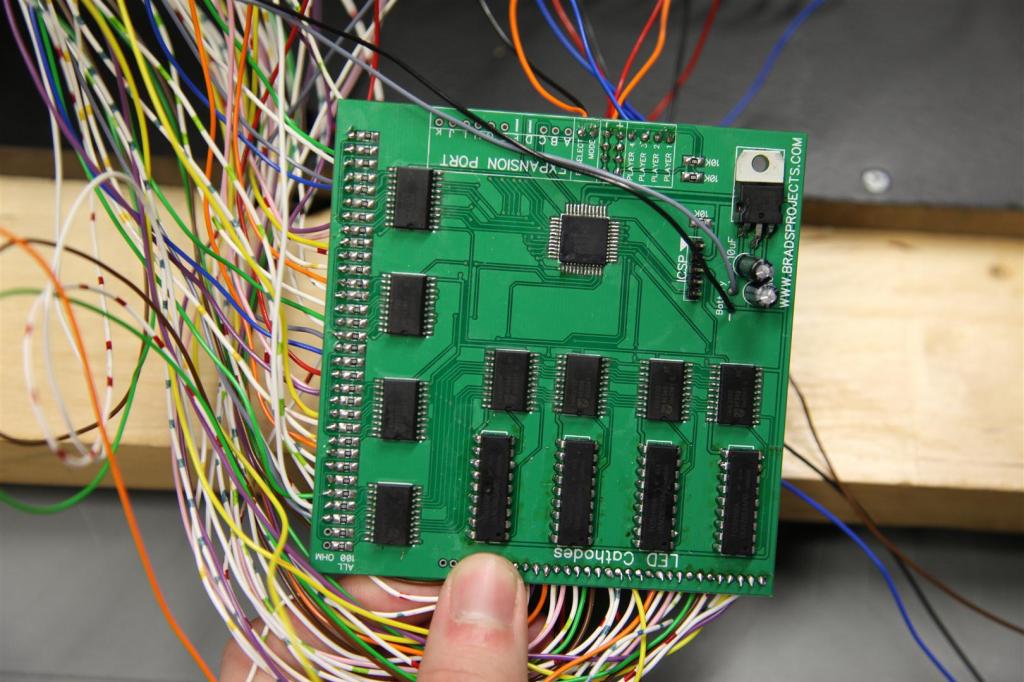
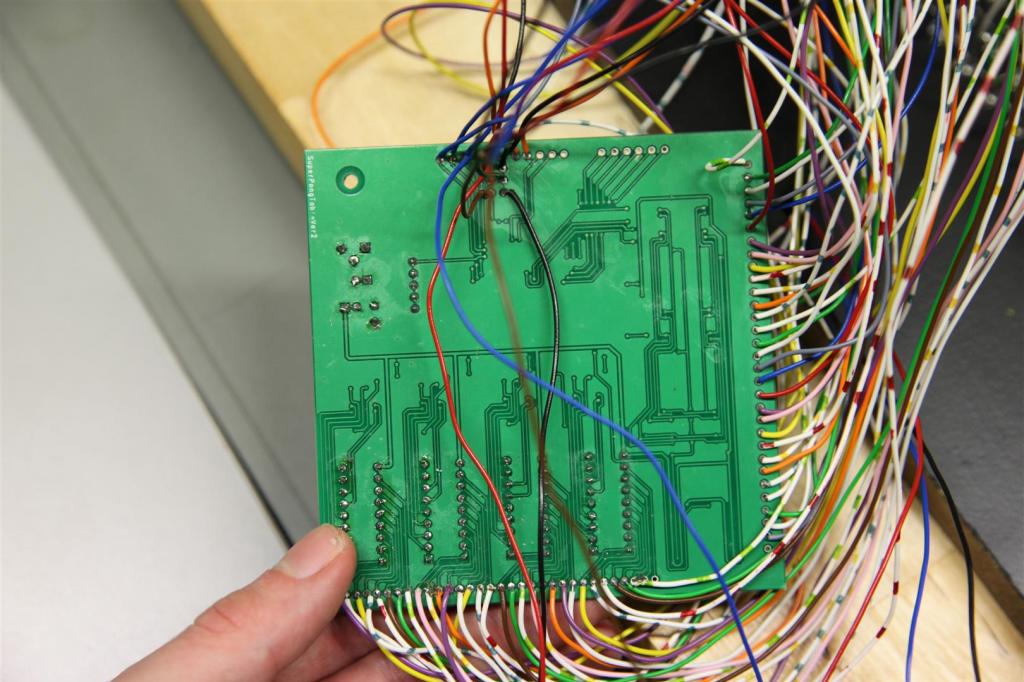
Firstly, cnribbens from the forum posted some details of his retroball build. It started out as a Super Pong Table (which was my original version of Retroball) this version required that you make your own LED matrix out of individual LED’s – it was quite a task!
Long story short, I was able to help cnribbens a bit with converting the retroball code to work on the Super Pong Table circuit board and LED matrix. Here’s some pictures of his build.
And now a video of the completed table in Action!
https://www.youtube.com/watch?v=k8ZPuYkhrYo
Secondly, I had an email from Kaj who made his from the actual RetroBall hardware.
He has written up some details on Facebook but I will post here again:
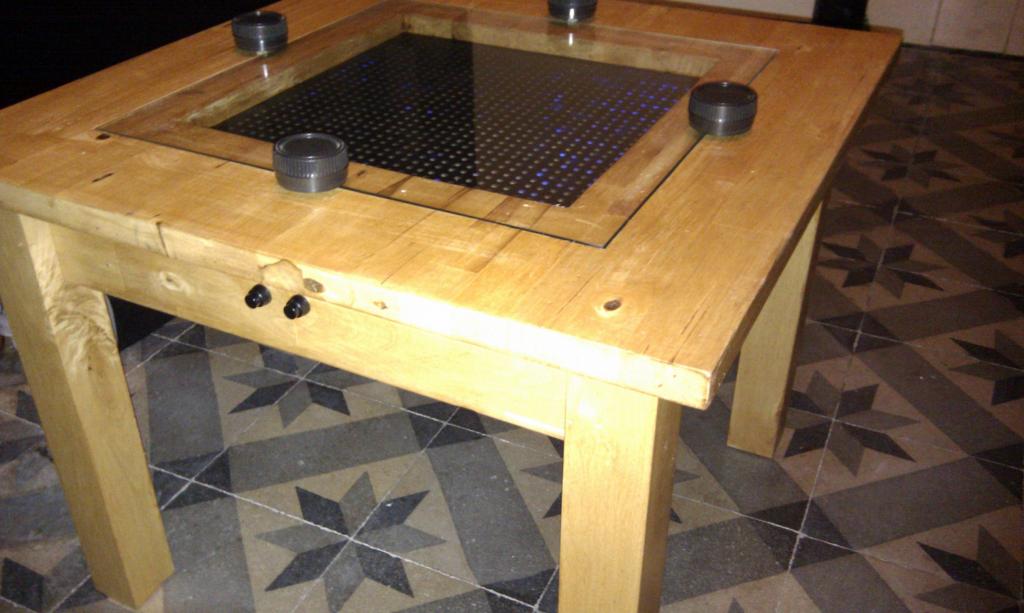
“This is a project I stumbled upon while reading Hackaday. I figured it would make a nice addition to Animecon‘s Game Goom, so I set out to build it.
First, I redesigned the PCB to get it cheaply done at Seeed Studio. As a result, the PCB is less than 25 square centimeters.
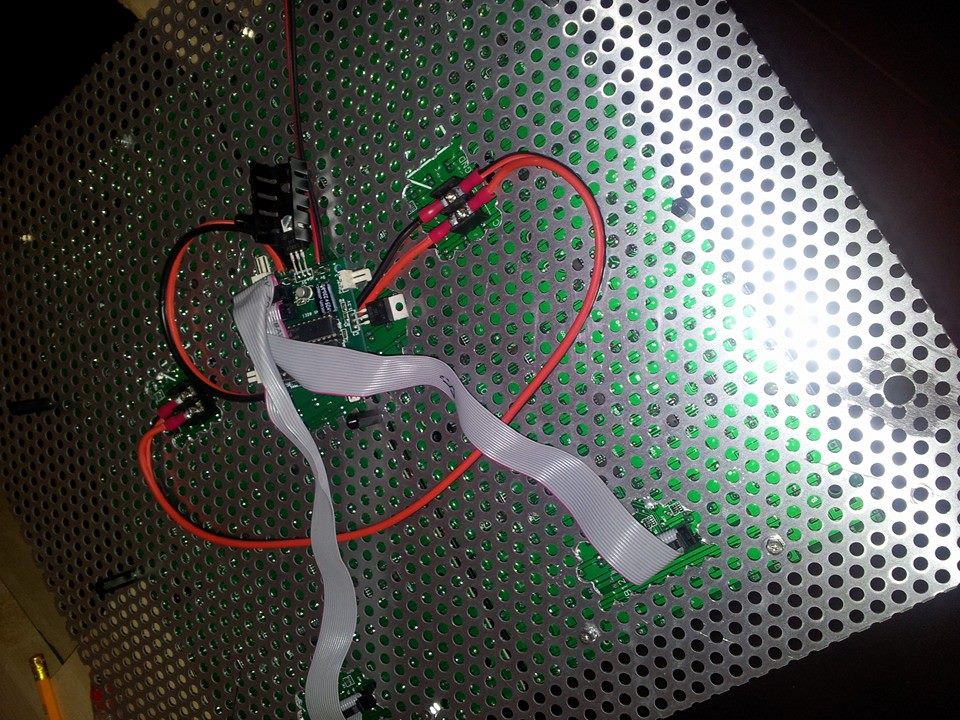
Second, I built it using a couple of perforated aluminum sheets, just to get a feel of the dimensions. Everything workd, but the sheets’ edges are a bit sharp and it didn’t look very nice.
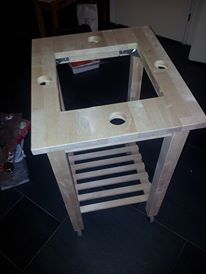
At first, I went looking for a second-hand table to get a retro look and save me some time on woodworking, but that turned out to be difficult. Most of the thrift shops around these parts don’t carry small tables that are high enough to play a game on while avoiding breaking your back or small enough to avoid hauling a dinner table everywhere, so when I saw this one at IKEA for a few tenners, I knew this would be my opportunity.
Since this particular table is made from solid wood, I also knew I’d have something I could carry around to other conventions without having to buy a new table every year.
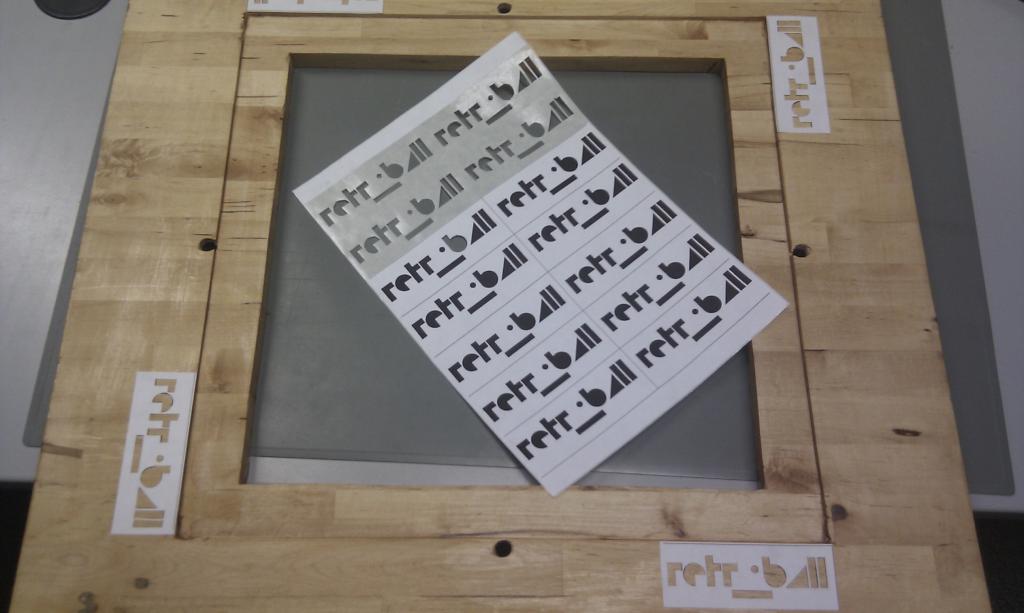
Stuff that still needs to be done: more staining of the wood so it gets that authentic look, covering the panels with satin red plexiglass, adding the speaker back in for the sounds, adding labels to the buttons and a small how-to-play plaque, checking to see whether a direct hit to a paddle can always be bounced to a different angle and finding some sturdy potentiometers which are able to take a beating.”
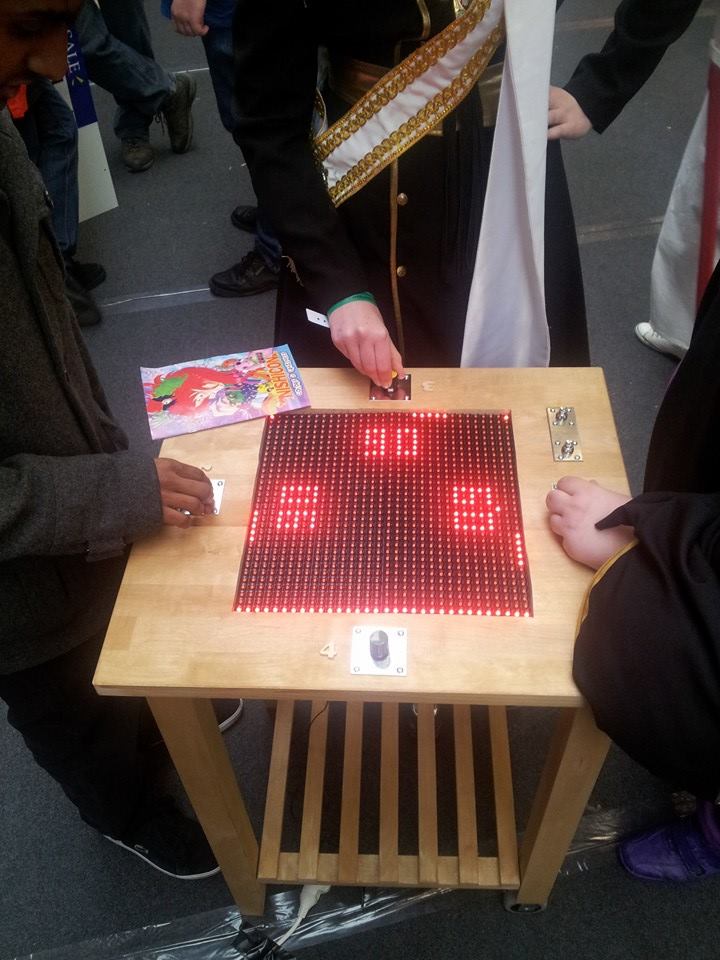
I was certainly glad to hear that the game was a hit at the convention 🙂
And now here’s some photo’s!
Once again, I very much like to see when people have made their own versions of projects I have come up with, so be sure to send me details if you have made something!
![[Brads Electronic Projects]](https://bradsprojects.com/wp-content/uploads/2017/06/BPLogo1-240x58.png)


